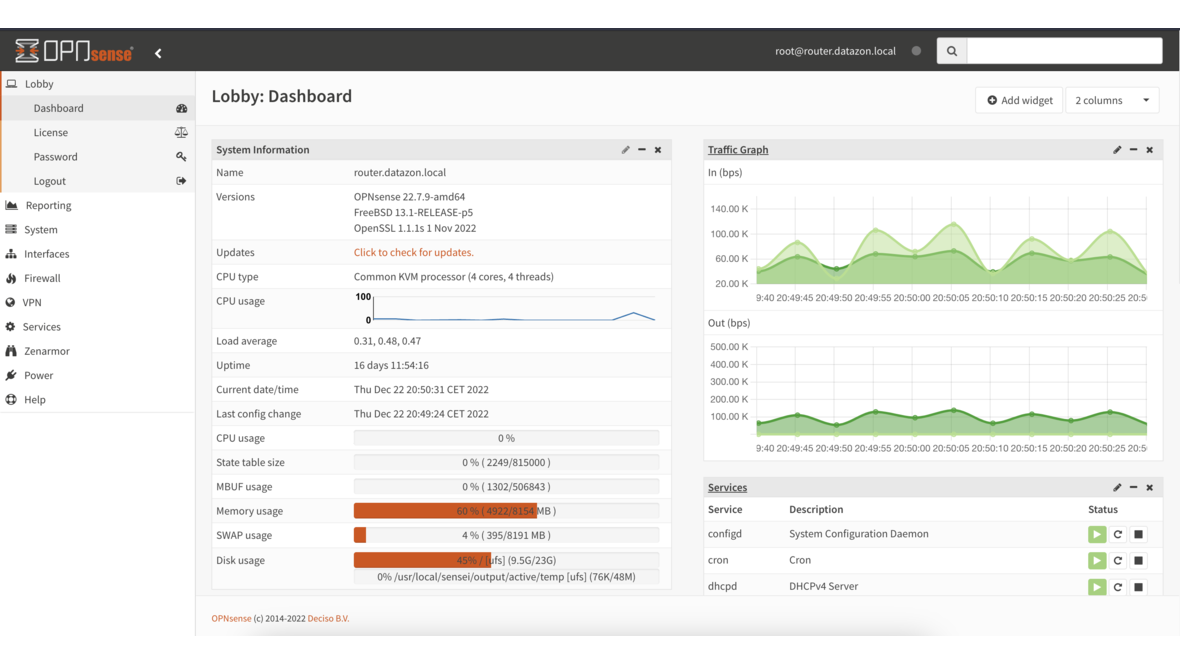
In many small and medium-sized businesses, all devices share a single flat network: workstations, servers, printers, IP phones, guest Wi-Fi, and IoT devices all reside in the same subnet. This is convenient — but a significant security risk. Network segmentation with VLANs logically separates these areas and is one of the most effective measures to improve IT security in businesses.
Why Network Segmentation?
When all devices share the same network, a compromised device can directly access all other systems. An infected workstation can reach servers, the phone system, and the NAS without any restrictions. This so-called lateral movement is the most common method attackers use to escalate within a network after the initial breach.
Network segmentation breaks these attack paths:
| Scenario | Flat Network | Segmented Network |
|---|---|---|
| Ransomware infects a PC | Encrypts all accessible network shares, servers, NAS | Only client segment affected, servers isolated |
| Guest on Wi-Fi | Has access to internal printers, servers, IoT | Internet access only, no access to internal resources |
| IoT device with vulnerability | Becomes entry point to entire network | Only IoT segment reachable, critical systems protected |
| Employee with personal device | Full network visible | Restricted to assigned segment |
What Are VLANs?
VLANs (Virtual Local Area Networks) divide a physical network into multiple logical networks. Each VLAN behaves like an independent network with its own IP range. Devices in different VLANs cannot communicate with each other by default — all traffic between VLANs must be routed through the firewall, which controls access.
The key advantage: VLANs require no additional hardware. Modern managed switches support VLANs via the IEEE 802.1Q standard. The entire segmentation is achieved through the existing network infrastructure.
Typical VLAN Structure for SMBs
For a medium-sized business with 20–100 employees, we recommend this VLAN structure:
| VLAN ID | Name | Subnet | Purpose |
|---|---|---|---|
| 10 | Management | 10.0.10.0/24 | Firewall, switches, access points, IPMI |
| 20 | Servers | 10.0.20.0/24 | Production servers, VMs, storage |
| 30 | Clients | 10.0.30.0/24 | Workstations, laptops |
| 40 | VoIP | 10.0.40.0/24 | IP phones, phone system |
| 50 | Printers | 10.0.50.0/24 | Network printers, scanners |
| 60 | Wi-Fi Internal | 10.0.60.0/24 | Employee Wi-Fi |
| 70 | Wi-Fi Guests | 10.0.70.0/24 | Guest Wi-Fi (internet only) |
| 80 | IoT | 10.0.80.0/24 | Cameras, sensors, smart devices |
The Role of OPNsense
OPNsense is the central element of network segmentation. The open-source firewall handles three tasks:
1. Inter-VLAN Routing
OPNsense routes traffic between VLANs and uses firewall rules to decide which communication is permitted. For example:
- Clients → Servers: Allowed (HTTP, SMB, RDP)
- Clients → VoIP: Blocked (phones don’t need PC access)
- Guests → everything except internet: Blocked
- IoT → Internet: Allowed (for updates)
- IoT → Servers/Clients: Blocked
2. DHCP per VLAN
Each VLAN receives its own DHCP scope. Devices automatically receive an IP address from the correct subnet. OPNsense can assign different DNS servers, gateways, and lease times per VLAN.
3. Firewall Rules
OPNsense firewall rules define exactly which traffic between segments is allowed. The principle is deny by default — everything is blocked initially, only explicitly permitted connections are allowed. This is the opposite of a flat network, where everything is permitted by default.
Recommended Firewall Rules
The most important rules for a segmented SMB network:
Server VLAN (VLAN 20):
- Inbound from clients: Only required services (SMB 445, HTTPS 443, RDP 3389)
- Inbound from VoIP: Only SIP/RTP to phone system
- Outbound to internet: Updates, email, DNS
- Everything else: Blocked
Client VLAN (VLAN 30):
- Outbound to servers: Permitted services
- Outbound to internet: Allowed (optionally via web proxy)
- To management/IoT: Blocked
- To printers: Allowed (port 9100, IPP)
Guest VLAN (VLAN 70):
- Outbound to internet: Allowed
- To all internal VLANs: Blocked
- DNS: Only via OPNsense (captive portal optional)
IoT VLAN (VLAN 80):
- Outbound to internet: Updates only (specific destination IPs/domains)
- To all internal VLANs: Blocked
- Management access: Only from VLAN 10
Hardware Requirements
Network segmentation doesn’t require expensive hardware, but a few prerequisites:
Managed Switch: Your switch must support VLANs per IEEE 802.1Q. Simple unmanaged switches cannot process VLANs. Recommended options for SMBs include switches from Zyxel, HP ProCurve, or MikroTik — all offer VLAN support from entry-level models.
Firewall with VLAN Support: OPNsense natively supports VLANs. The firewall connects to the switch via a physical network interface as a VLAN trunk and can manage hundreds of VLANs through a single interface.
Wi-Fi Access Points: For separate wireless networks (internal + guests), access points must support SSID-to-VLAN mapping. Each SSID is assigned to a VLAN — allowing you to separate employee and guest Wi-Fi over the same hardware.
Common Segmentation Mistakes
Too many VLANs: More than 10 VLANs in an SMB network creates complexity that exceeds the benefit. Keep the structure manageable.
Undocumented rules: Firewall rules must be documented. OPNsense allows comments on every rule — use them consistently. Anyone who needs to modify a rule in a year should immediately understand why it exists.
Forgetting the management network: Switch interfaces, IPMI ports, and access point management belong in a separate VLAN accessible only to administrators.
No monitoring: Monitor inter-VLAN traffic. OPNsense offers detailed insights into traffic between segments via NetFlow/IPFIX. Unexpected traffic can indicate misconfigurations or security incidents.
Frequently Asked Questions
Do I need new hardware for VLANs?
In most cases, no. If your switches support VLANs (managed switches), you can set up VLANs using your existing infrastructure. Only unmanaged switches need to be replaced.
Do VLANs affect network performance?
No. VLAN tagging operates at Layer 2 and causes no measurable overhead. Inter-VLAN routing through OPNsense is also performant — modern firewall hardware easily routes multiple gigabits per second.
Can I implement VLANs gradually?
Yes. You can start with a guest VLAN and expand segmentation step by step. OPNsense and 802.1Q-capable switches allow adding VLANs without disrupting ongoing operations.
What happens when a printer is in a different VLAN than the clients?
The firewall rule permits access from clients to printers over the required ports (e.g., 9100 for raw printing, 631 for IPP). Nothing changes for users — the printer remains accessible, but IoT devices or guests cannot reach it.
Want to segment your business network? Contact us — we plan and implement network segmentation for your infrastructure with OPNsense.
More on these topics:
More articles
pfSense Plus vs. OPNsense 2026: Current Feature Comparison
pfSense Plus vs. OPNsense 2026 technical comparison: WireGuard, Zenarmor, HAProxy, Suricata, MFA and HA -- licensing, community and migration paths.
OPNsense HA with CARP: 3 Real-World Pitfalls
OPNsense HA with CARP in SMB environments: the three most common pitfalls -- config drift, sync-interface saturation and DHCP failover -- with fix procedures.
Replacing the Fritzbox with OPNsense: When SMBs Should Switch
When does the Fritzbox stop being enough? OPNsense as the SMB successor: VLANs, real firewall rules, VPN concentrator and SNMP monitoring.