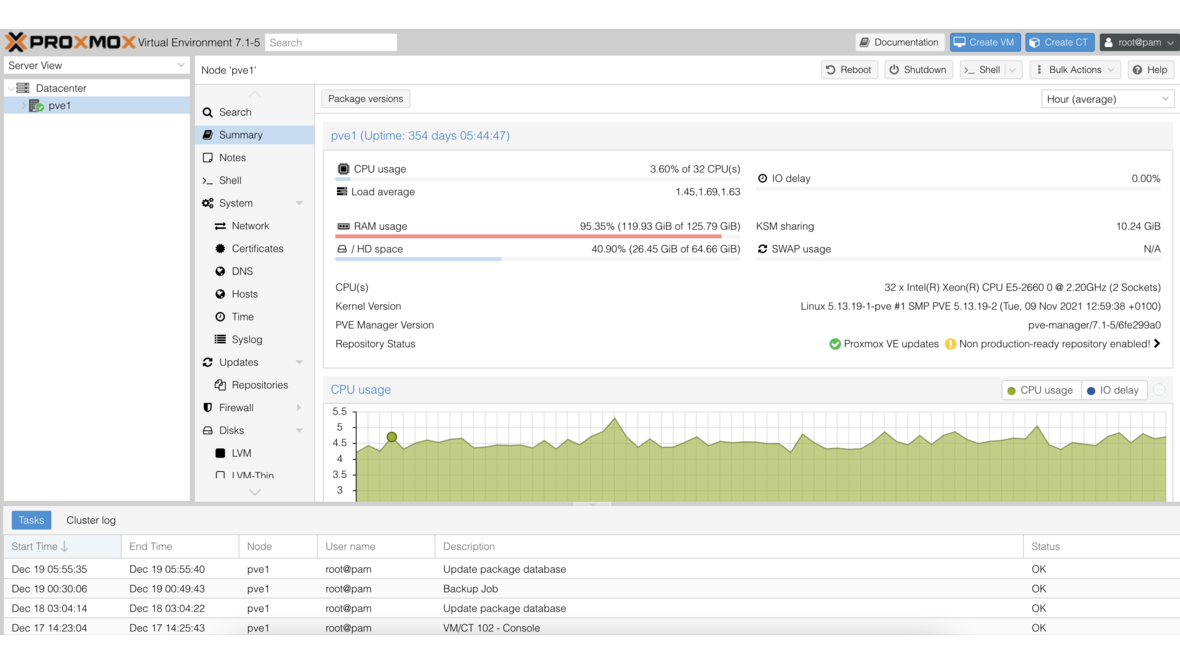
If you run Proxmox VE in a business environment, you know the problem: VMs and containers are created manually through the web interface, configurations go undocumented, and rebuilding means starting from scratch. Infrastructure as Code (IaC) solves this — and with the Terraform provider for Proxmox, your entire virtualization environment is captured in versionable, reproducible code.
What Is Infrastructure as Code?
Infrastructure as Code means that infrastructure is not configured manually but described in declarative files. The benefits are substantial:
- Reproducibility: Any environment can be rebuilt identically
- Version control: Infrastructure changes are tracked via Git
- Review processes: Infrastructure modifications go through code reviews
- Documentation: The code itself documents the desired state
Terraform by HashiCorp has become the industry standard for IaC. It works on a provider model: for every platform — whether cloud or on-premises — a provider handles API communication.
The bpg/proxmox Terraform Provider
The community provider bpg/proxmox is the most mature Terraform provider for Proxmox VE. It supports VMs, LXC containers, storage, networks, and user management through the Proxmox API.
Creating an API Token in Proxmox
Terraform communicates with Proxmox through API tokens. Create a dedicated user with the required permissions:
# Create user and token
pveum user add terraform@pve
pveum aclmod / -user terraform@pve -role PVEAdmin
pveum user token add terraform@pve terraform-token --privsep 0
Store the returned token value securely — it is displayed only once.
Provider Configuration
The Terraform provider configuration points to the Proxmox API:
terraform {
  required_providers {
    proxmox = {
      source  = "bpg/proxmox"
      version = ">= 0.78.0"
    }
  }
}

provider "proxmox" {
  endpoint  = "https://proxmox.example.com:8006/"
  api_token = var.proxmox_api_token
  insecure  = false

  ssh {
    agent = true
  }
}
The API token is passed as a variable and never stored in code. The ssh block allows Terraform to transfer files directly to the Proxmox host — such as Cloud-Init configurations.
Creating VMs with Cloud-Init
The core capability: defining a VM as a Terraform resource. With Cloud-Init, the VM is automatically configured on first boot:
resource "proxmox_virtual_environment_vm" "webserver" {
  name      = "web-prod-01"
  node_name = "pve01"
  tags      = ["production", "web"]

  clone {
    vm_id = 9000  # Cloud-Init template
  }

  cpu {
    cores = 4
    type  = "x86-64-v2-AES"
  }

  memory {
    dedicated = 8192
  }

  disk {
    datastore_id = "local-zfs"
    interface    = "scsi0"
    size         = 50
  }

  network_device {
    bridge  = "vmbr0"
    vlan_id = 100
  }

  initialization {
    ip_config {
      ipv4 {
        address = "10.0.100.10/24"
        gateway = "10.0.100.1"
      }
    }
    user_account {
      keys     = [file("~/.ssh/id_ed25519.pub")]
      username = "deploy"
    }
  }
}
A single terraform apply creates this VM in seconds — fully configured, with SSH access and the correct network attachment.
Creating LXC Containers
For lightweight workloads, LXC containers are ideal. They can also be managed through Terraform:
resource "proxmox_virtual_environment_container" "dns" {
  description = "Internal DNS resolver"
  node_name   = "pve01"
  tags        = ["infrastructure", "dns"]

  operating_system {
    template_file_id = "local:vztmpl/debian-12-standard_12.7-1_amd64.tar.zst"
    type             = "debian"
  }

  cpu {
    cores = 2
  }

  memory {
    dedicated = 1024
  }

  disk {
    datastore_id = "local-zfs"
    size         = 10
  }

  network_interface {
    name    = "eth0"
    bridge  = "vmbr0"
    vlan_id = 10
  }
}
Variables and Modules for Reusability
Hardcoded values make code inflexible. Terraform variables and modules solve this:
# variables.tf
variable "vm_configs" {
  type = map(object({
    cores  = number
    memory = number
    disk   = number
    vlan   = number
    ip     = string
  }))
}

# terraform.tfvars
vm_configs = {
  "web-prod-01" = { cores = 4, memory = 8192, disk = 50, vlan = 100, ip = "10.0.100.10/24" }
  "app-prod-01" = { cores = 8, memory = 16384, disk = 100, vlan = 200, ip = "10.0.200.10/24" }
  "db-prod-01"  = { cores = 8, memory = 32768, disk = 500, vlan = 300, ip = "10.0.300.10/24" }
}
Using for_each, Terraform iterates over the map and creates all VMs from a single resource definition. For organization-wide standards, a custom Terraform module that encapsulates VM creation, network attachment, and tagging in a reusable package is recommended.
Plan, Apply, Destroy — the Terraform Workflow
Terraform operates in three phases:
terraform plan— Shows which resources will be created, changed, or deletedterraform apply— Executes the planned changesterraform destroy— Removes all managed resources
The plan step is critical: it displays the diff between desired and actual state before changes take effect. In CI/CD pipelines, the plan is generated automatically and applied only after approval.
State Management with Remote Backends
Terraform stores the state of all managed resources in a state file. For teams, a local state file is problematic — a remote backend provides the solution:
terraform {
  backend "s3" {
    bucket   = "terraform-state"
    key      = "proxmox/production.tfstate"
    endpoint = "https://minio.example.com"
    region   = "us-east-1"
  }
}
An S3-compatible backend (e.g., MinIO running on your own TrueNAS) provides state locking, versioning, and concurrent access for multiple team members.
Manual vs. Ansible vs. Terraform
| Aspect | Manual (GUI) | Ansible | Terraform |
|---|---|---|---|
| VM creation | Click-based | Possible (API modules) | Native strength |
| Configuration | Manual | Native strength | Limited (Cloud-Init) |
| State management | None | None (imperative runs) | State file (declarative) |
| Drift detection | None | None | Automatic via plan |
| Learning curve | Low | Medium | Medium |
| Scalability | Poor | Good | Very good |
Terraform + Ansible: The Ideal Combination
In practice, Terraform and Ansible complement each other perfectly. Terraform creates the infrastructure — VMs, containers, networks — and Ansible then configures the operating system, installs software, and hardens the systems. A typical workflow:
- Terraform creates the VM with Cloud-Init (network, SSH key)
- Terraform outputs the IP address
- Ansible takes over: install packages, configure services, apply hardening
This approach cleanly separates infrastructure provisioning from configuration management and leverages the strengths of both tools.
Monitoring with DATAZONE Control
Automated infrastructure needs automated monitoring. DATAZONE Control automatically detects new VMs and containers, monitors resource utilization, backup status, and network availability. Combined with Terraform, this creates a fully automated cycle: create infrastructure as code, monitor automatically, and alert immediately when issues arise.
Want to automate your Proxmox environment with Terraform? Contact us — we implement Infrastructure as Code for your Proxmox infrastructure and support you from planning through production operations.
More on these topics:
More articles
TrueNAS as an Immutable Backup Target for Veeam & Proxmox (S3 Object Lock)
Immutable backups against ransomware: how to use TrueNAS as an S3-compatible immutable target with Object Lock for Veeam and Proxmox Backup Server — on-premises, without cloud egress.
TrueNAS Proxmox plugin 25.10.6: four observations from our test lab, fed back to iXsystems as a partner
Early adoption means helping to shape. We run the official TrueNAS storage plugin for Proxmox VE productively and document here what we observed in version 2.1.17+deb1 on PVE 9.2.11 and TrueNAS SCALE 25.10.6 — including workarounds for the community and a note on how we fed it back to iXsystems.
Proxmox vs. VMware vSphere 8 -- 2026 update: the state of play after two years of Broadcom
Proxmox vs VMware 2026 -- an honest comparison against vSphere 8 after two years of Broadcom. Where Proxmox has caught up, where vSphere still leads. From the trenches.